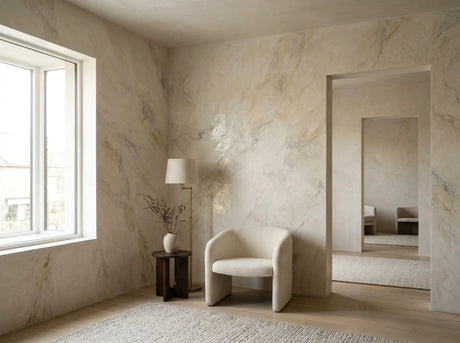
Do you want to give your interior a luxurious look without a major renovation? Then decorative mouldings are the solution. With relatively little effort, you can create a stylish wall or ceiling finish that immediately stands out.
In this guide, you will learn step-by-step how to install decorative mouldings, what materials you need, and how to achieve a professional result – even as a beginner.
Why choose decorative mouldings?
Decorative mouldings (also known as wall mouldings or dado rails) are extremely popular in modern interiors. They provide:
- Luxurious and stylish appearance
- More depth in your walls
- Affordable home upgrade
- Easy installation (even for beginners)
Our best-selling models such as:
- HW1 decorative moulding (sleek and minimalist)
- HW2 decorative moulding (slightly more robust and classic)
are made of polystyrene. This material is lightweight, easy to saw, and paintable.
What do you need?
To install decorative mouldings, you will need the following:
- Decorative mouldings (e.g., HW1 or HW2)
- Mounting adhesive or glue
- Miter saw (for 45-degree angles)
- Measuring tape and pencil
- Spirit level
- Acrylic sealant (for finishing)
- Paint (optional)
Step-by-step installation of decorative mouldings
Step 1: Determine your design
Measure the wall and determine the pattern you want to create. Popular choices include:
- Rectangular panels
- Symmetrical wall panels
- Classic French paneling
Tip: first draw everything on the wall with a pencil.
Step 2: Cut decorative mouldings to size
Cut the decorative mouldings at a miter (45 degrees) so that the corners align neatly.
👉 Work precisely – this determines your end result.
Step 3: Attach to the wall
Apply mounting adhesive to the back of the decorative moulding and press it firmly against the wall.
Use a spirit level to check that everything is straight.
Step 4: Finish
Finish the seams with acrylic sealant and let everything dry thoroughly.
Then you can paint the decorative mouldings in the same color as the wall for a sleek result.
Common mistakes (avoid!)
- Crooked placement → always use a spirit level
- Poor cuts → work with a miter saw
- Wrong adhesive → use strong mounting adhesive
- No finishing → always seal seams
Buying decorative mouldings: what to look for?
When choosing decorative mouldings, pay attention to:
- Material (polystyrene = best choice for beginners)
- Dimensions (suitability for your wall)
- Style (modern vs. classic)
- Paintability
View our popular options here:
👉 HW2 decorative moulding – slightly more depth and detail
https://www.bouwshoputrecht.nl/products/hw-2-sierlijst-2000-x-20-x-40-mm-duurzaam-polystyreen?_pos=1&_psq=hw2&_ss=e&_v=1.0
Ideal for:
- 1930s homes (many in Utrecht & Amsterdam)
- Classic wall division
- Hotel chic style
👉 HW1 decorative moulding – sleek and modern
https://www.bouwshoputrecht.nl/products/sierlijst-hw-1-strakke-wandafwerking-11-x-22-x-2000-mm?_pos=1&_psq=hw1&_ss=e&_v=1.0
Perfect for:
- New-build homes
- Modern apartments (commonly used in Almere)
- Sleek wall finish
No time? Let us do it
Want to be sure it's done perfectly?
We also install decorative mouldings on-site in Utrecht and surrounding areas.
👉 Contact us for a free quote.